Archive for January, 2013
Hit it Further
Lose the Tension for more Distance
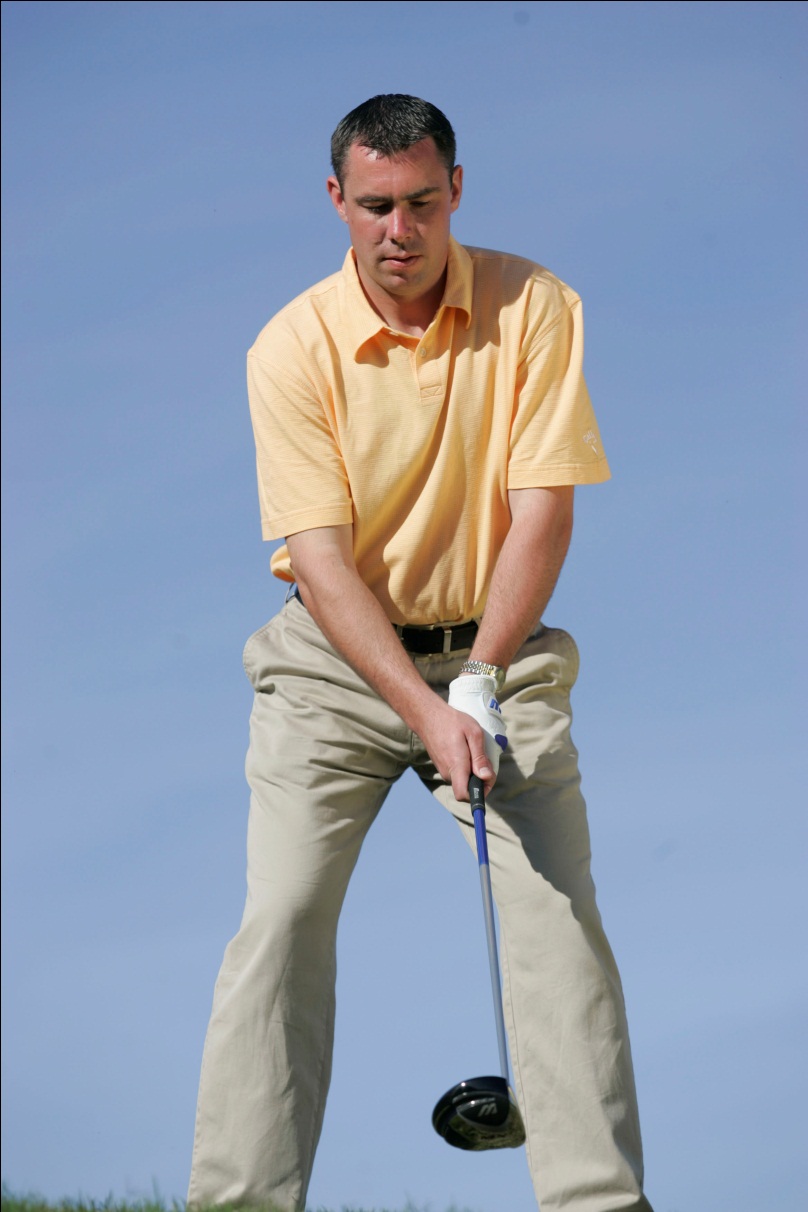
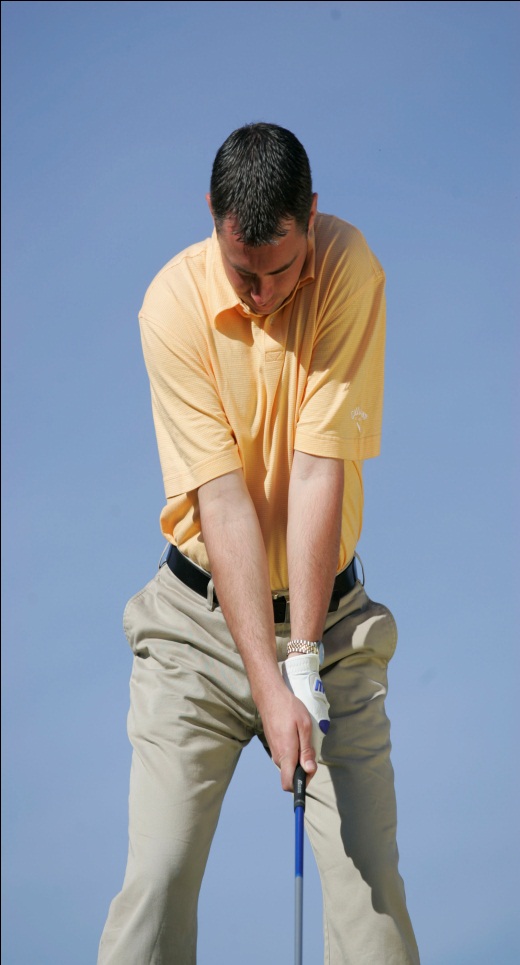
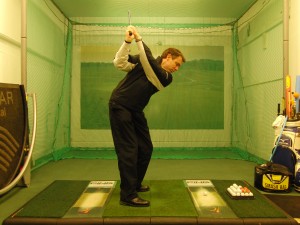
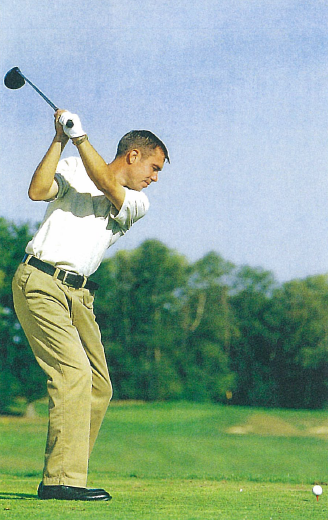
Tension is a huge energy sapper in a golf swing, so when you set up to the ball make sure that your grip pressure is relaxed. The best way of doing this is to think about your forearms, if you keep these relaxed it is impossible to have tight tense wrists and a tight grip. Keep your chin held up and your neck muscles relaxed as this will also contribute in making a good athletic body turn which in turn leads to power. Remember your arms are the levers in a golf swing so keeping these relaxed adds to increased speed and power.
I hope you enjoyed the article, any comments or Questions then please leave a comment below..
Until next time I wish you all the golfing success
Mark
Mark Wood Golf Academy
Dale Hill hotel & golf club
East Sussex
Fairway Bunker Shots
THE FAIRWAY BUNKER SHOT
Escape the sand and play these shots like the pro’s…
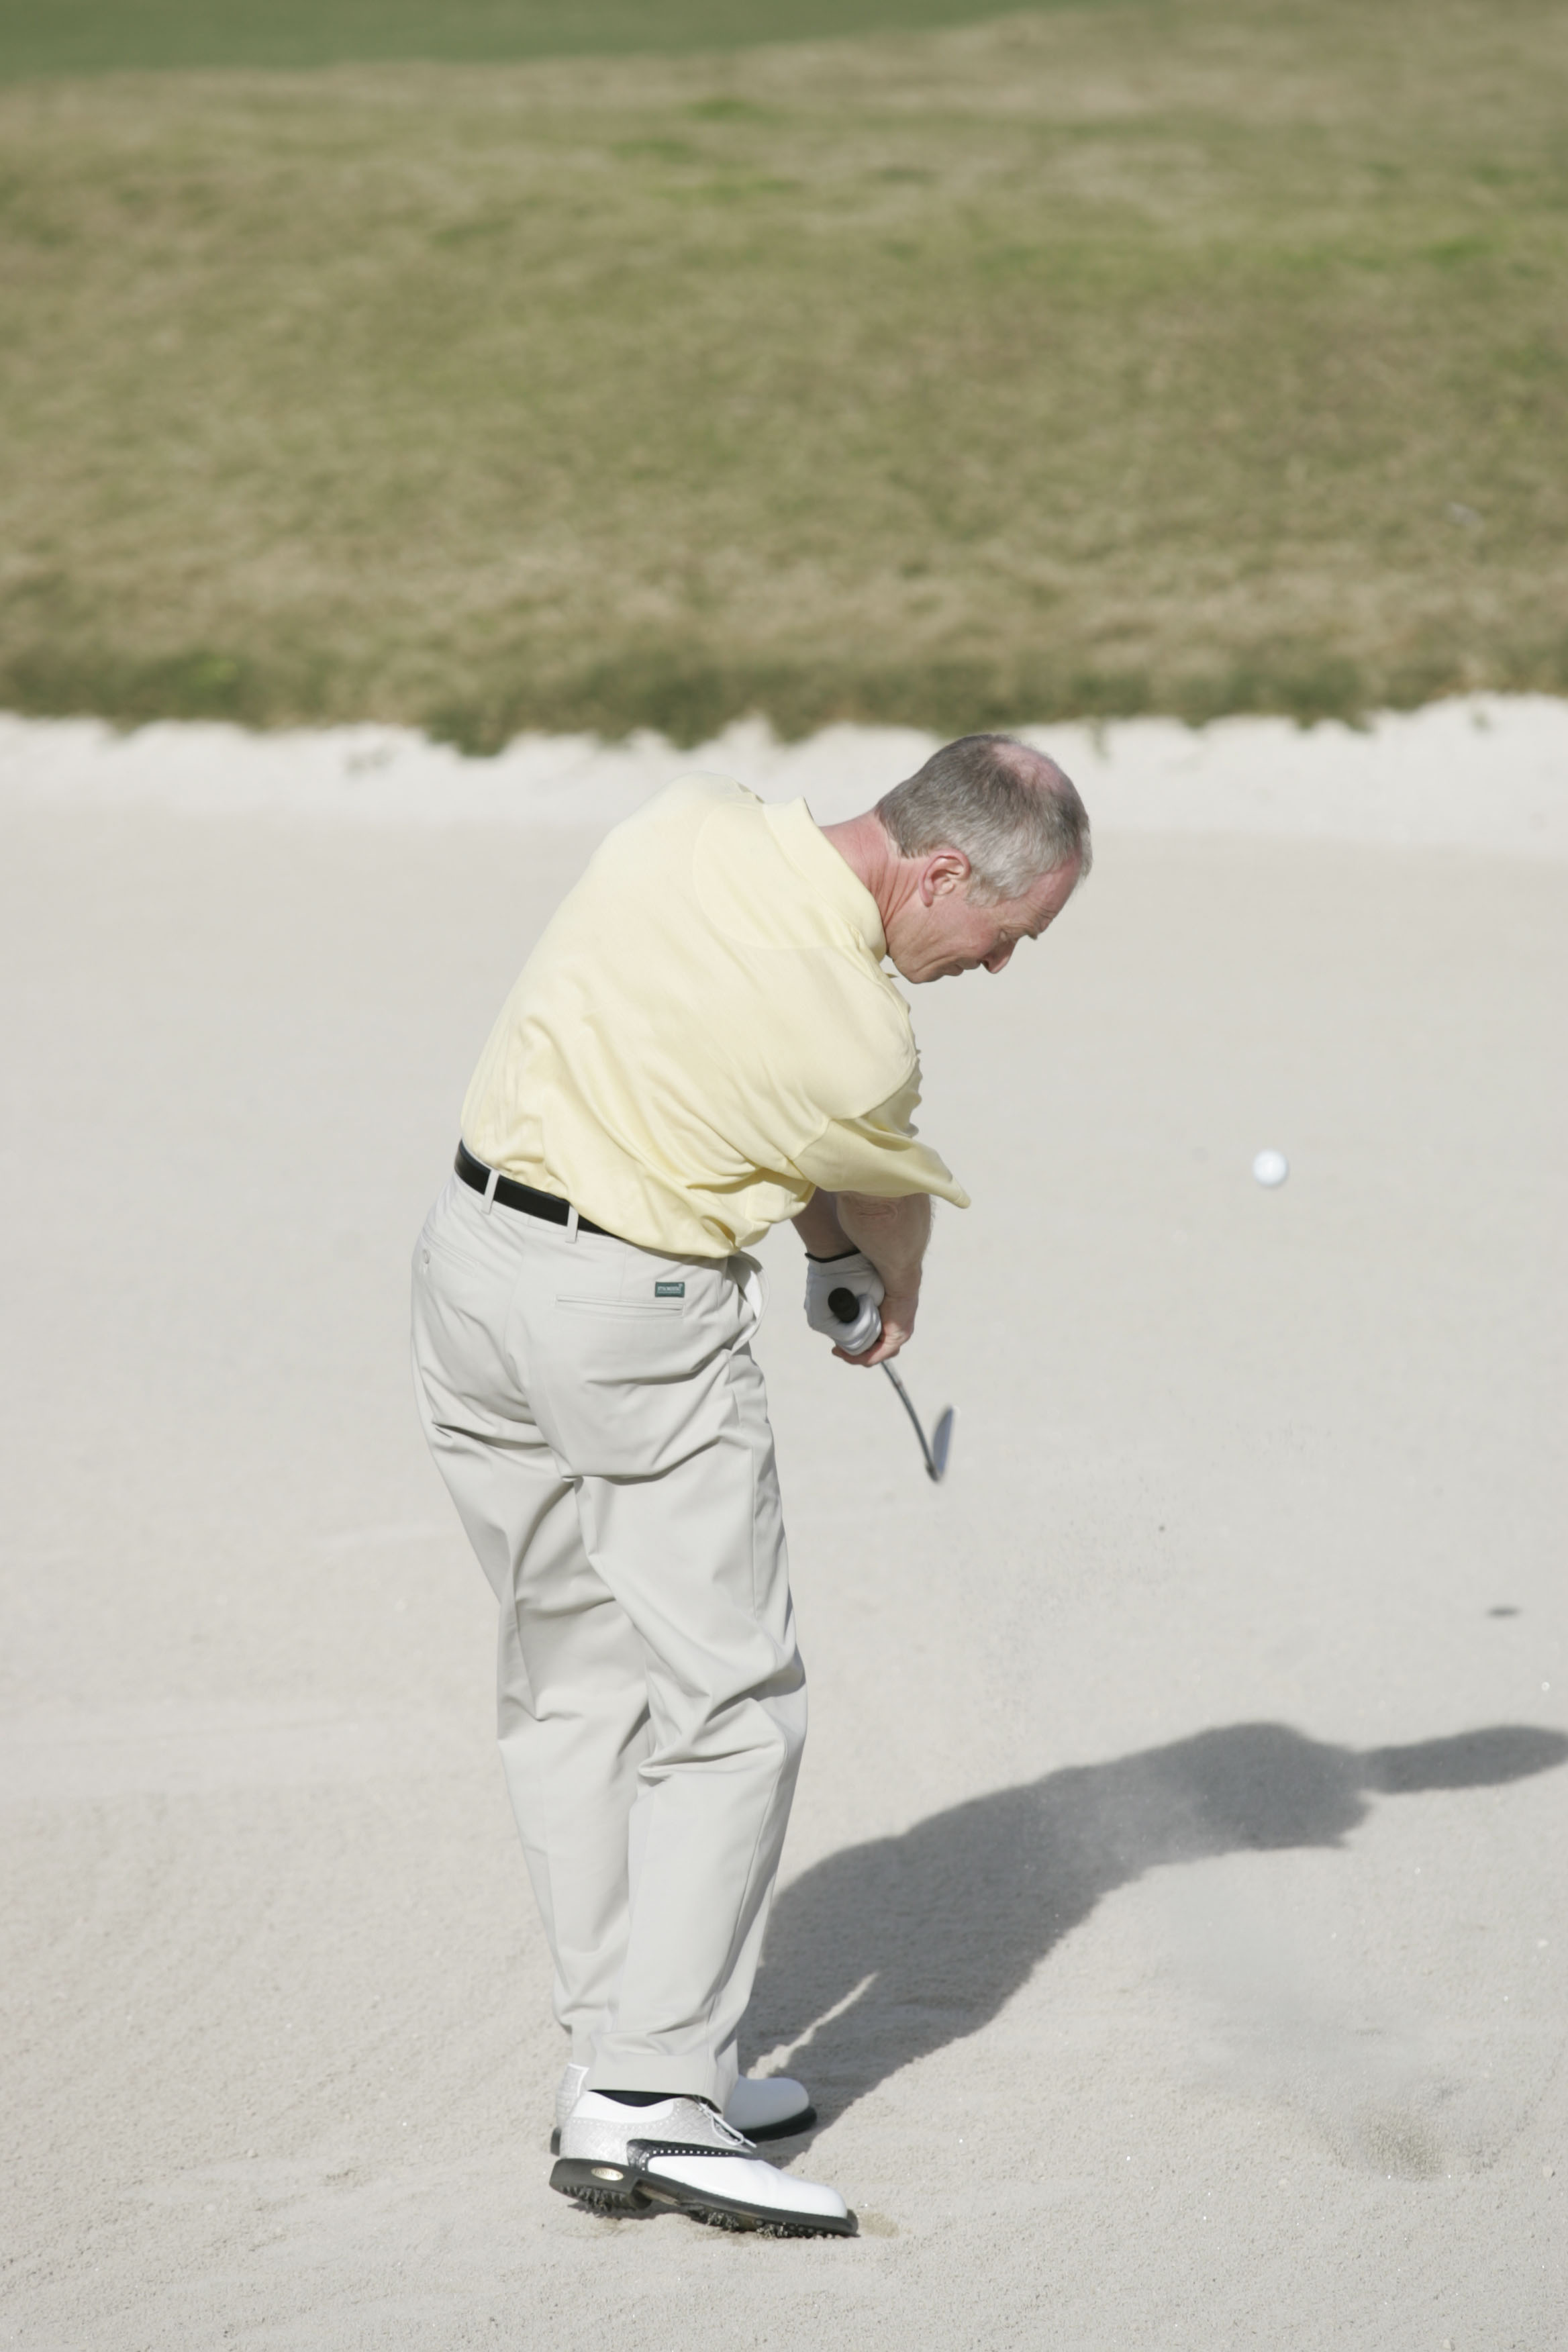
Fairway bunker shots can be very intimidating for many golfers, but if you learn and practise the right techniques you will soon enjoy these shots. To start with, when playing out of fairway bunkers, it is important to take one to two clubs more than normal and make sure you have enough loft on the chosen club to clear the lip of the bunker. Set up normally with your feet slightly wriggled into the sand for stability and the ball positioned more toward the middle of your stance. Next step, which is very important, grip down slightly on the club for greater control. By also lifting your chin up a little from your chest gives you the feeling of standing “tall” and increases the chance of hitting the ball first, which if you are going to be successful at this shot, it’s a must. Making a swing at 70 percent of your normal speed will give you a great chance of hitting a clean, solid shot.
So, Hitting a shot from a fairway bunker poses no great problem if the ball has a good lie.
On long fairway bunker shots, Rescue (Hybrid) clubs or middle irons as well as 5 and 7 woods can be used with great confidence in this situation. Don’t try to overpower this shot. Restrict your golf swing a little via your body turn and swing easy and in balance.
With a bad lie in the bunker you need to re think and play more of a percentage shot, choose the club you are confident with, from say a 7 iron upwards. Take note of any other trouble and look to get the ball back into the fairway. Observe the course. Aim for a safe part of the fairway and just get your ball back into play.
I hope you enjoyed the article, any comments or Questions then please leave a comment below..
Until next time I wish you all the golfing success
Mark
Mark Wood Golf Academy
Dale Hill hotel & golf club
East Sussex
How To Hit The Pro Style Draw
How to Hit the Pro Style Draw
Many golfers all over the world would love to consistently hit a sweet, little DRAW. In my experience the major reason that most golfers fail with this particular shot is because they have a lack of understanding for how this shot is created. There has been a lot written and filmed on how to hit a draw, for example, your clubface has to be facing the target at address and at impact. That is completely incorrect, yes you will hit a right to left ball flight but the ball will always finish to the left of target. Quite often golfers are under the impression that the swing path governs the balls initial direction and the face puts the spin on the ball. This is unfortunately wrong information and will not produce the results of that sweet little draw you are after. We now have scientific evidence, from devices such as Trackman, Flightscope and other ball flight, swing path and clubface radars which track what is actually going on in the golf swing and gives us the DNA of what created that particular ball flight. This is hard plan facts, no guessing just pure scientific facts on what produces a draw. I am going to share with you how to hit the draw and what creates the right to left spin.
THE NEW WAY OF HITTING A DRAW
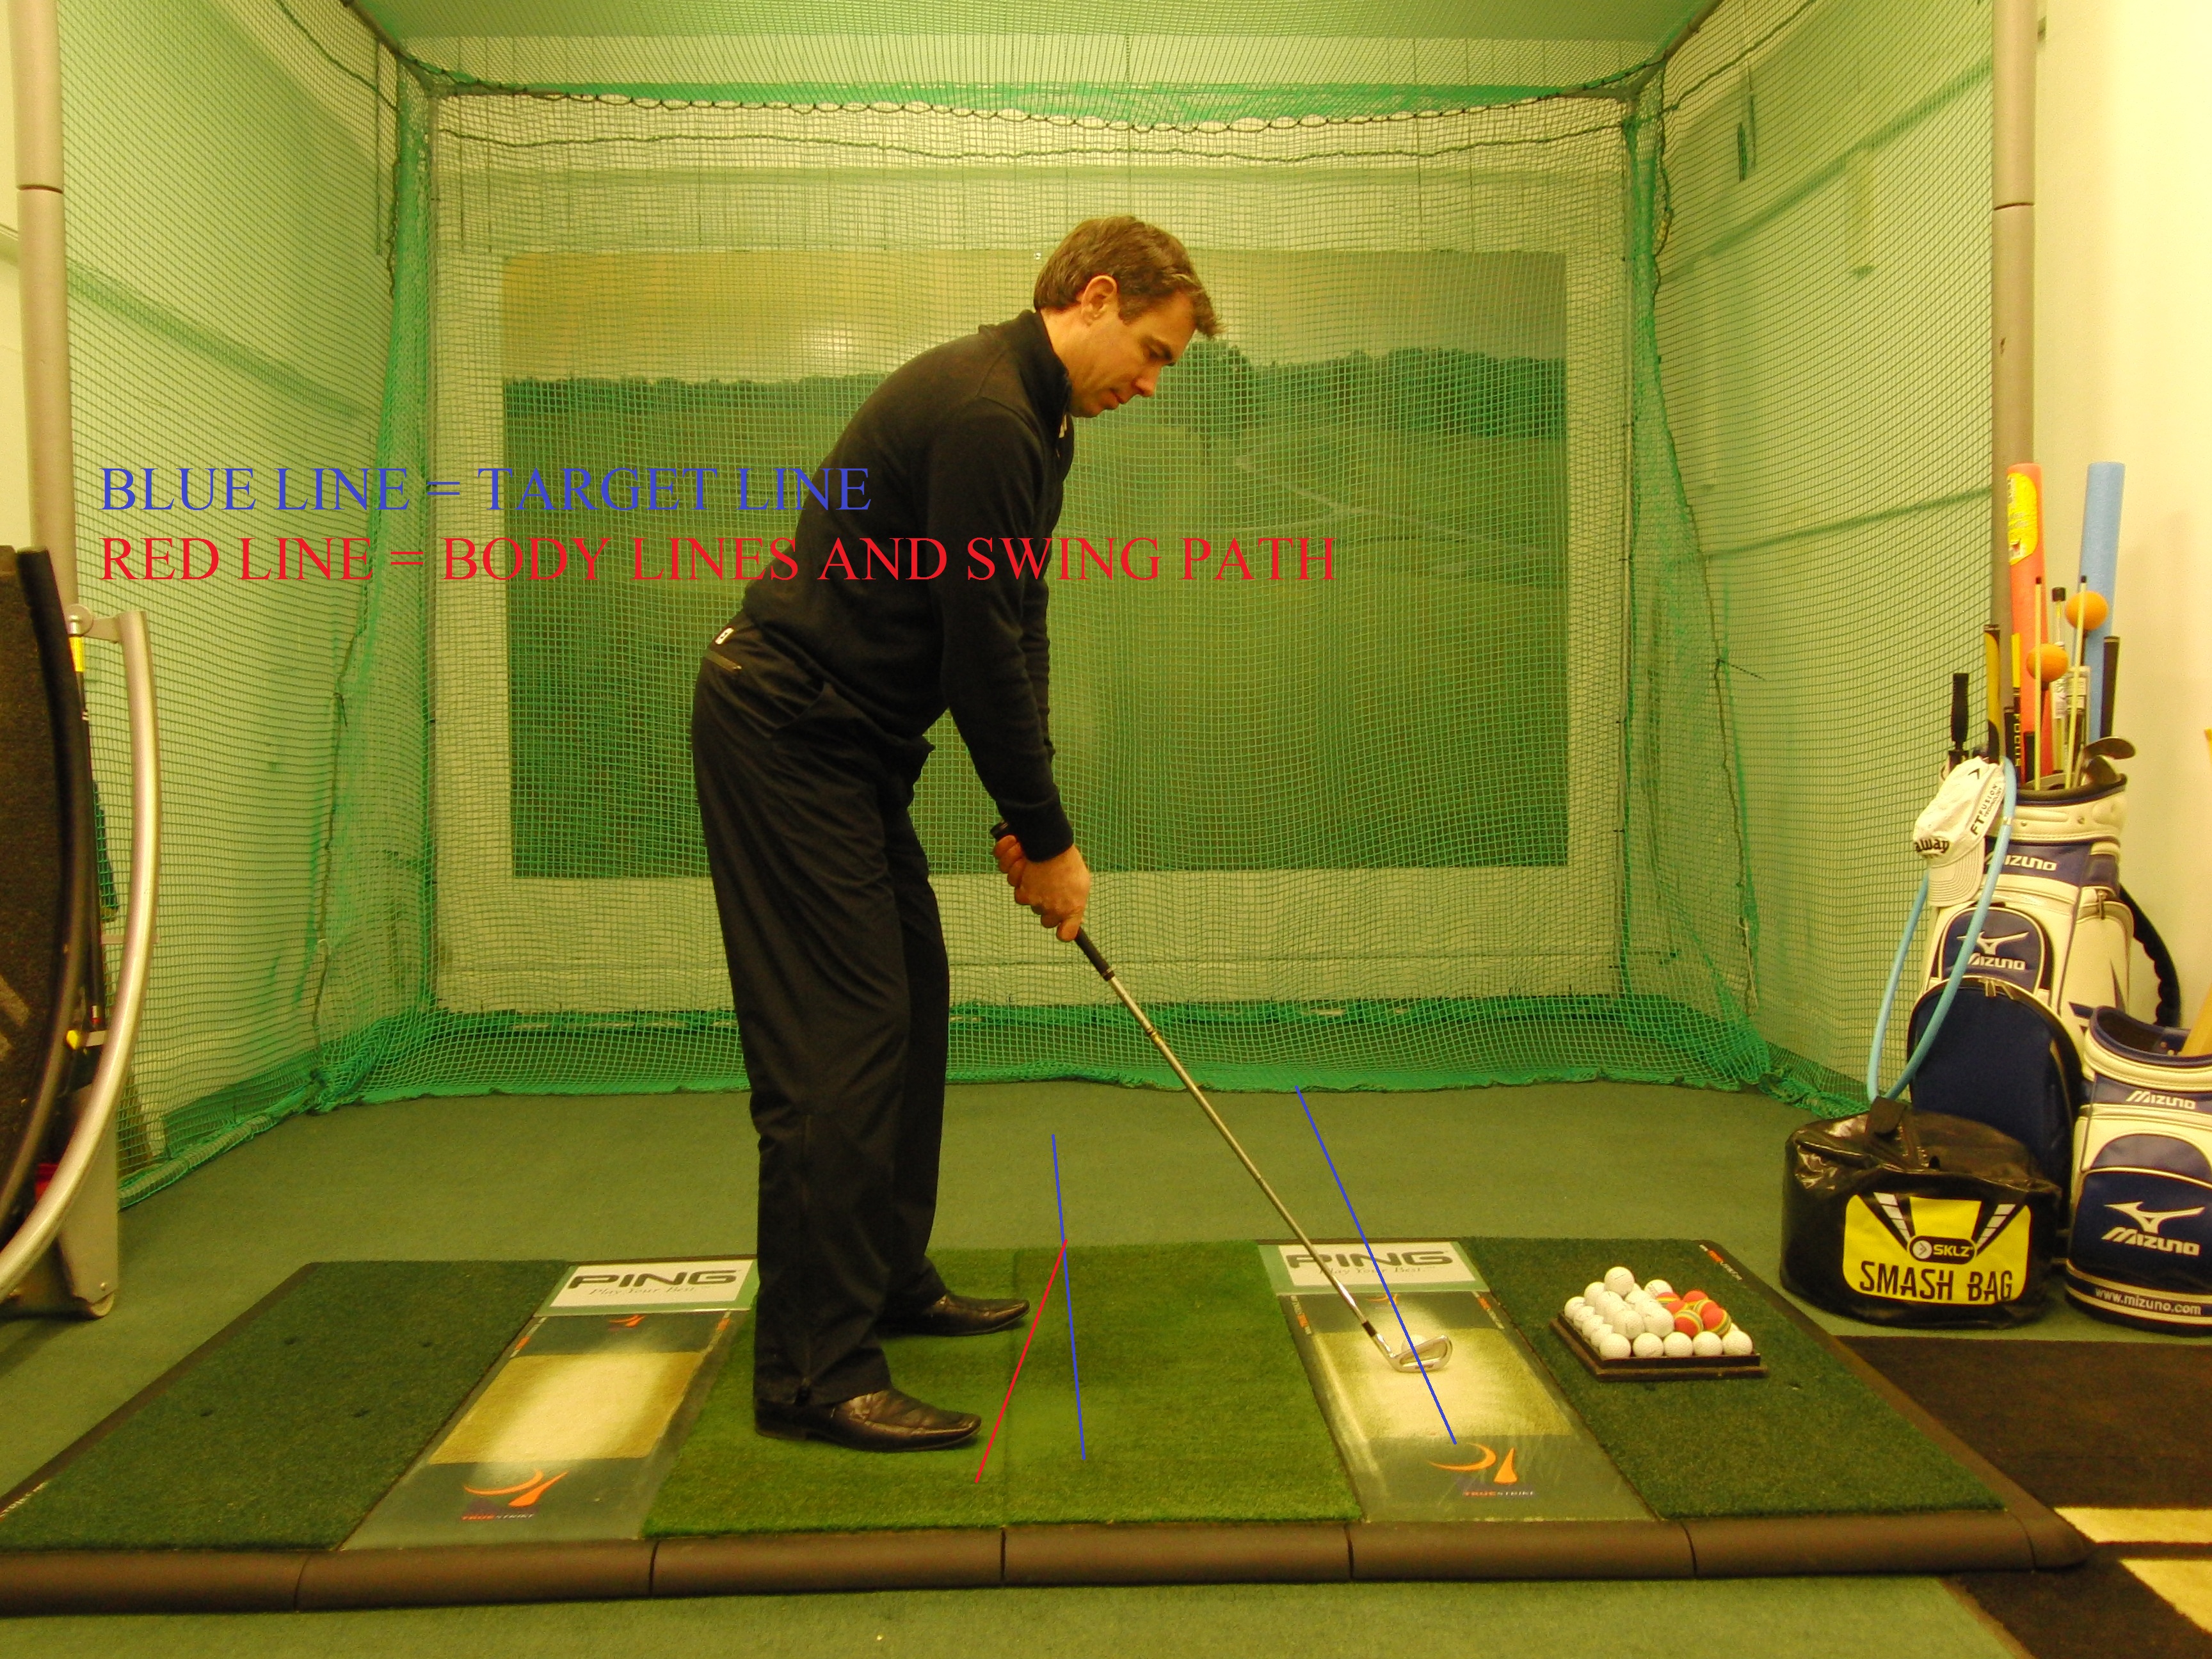
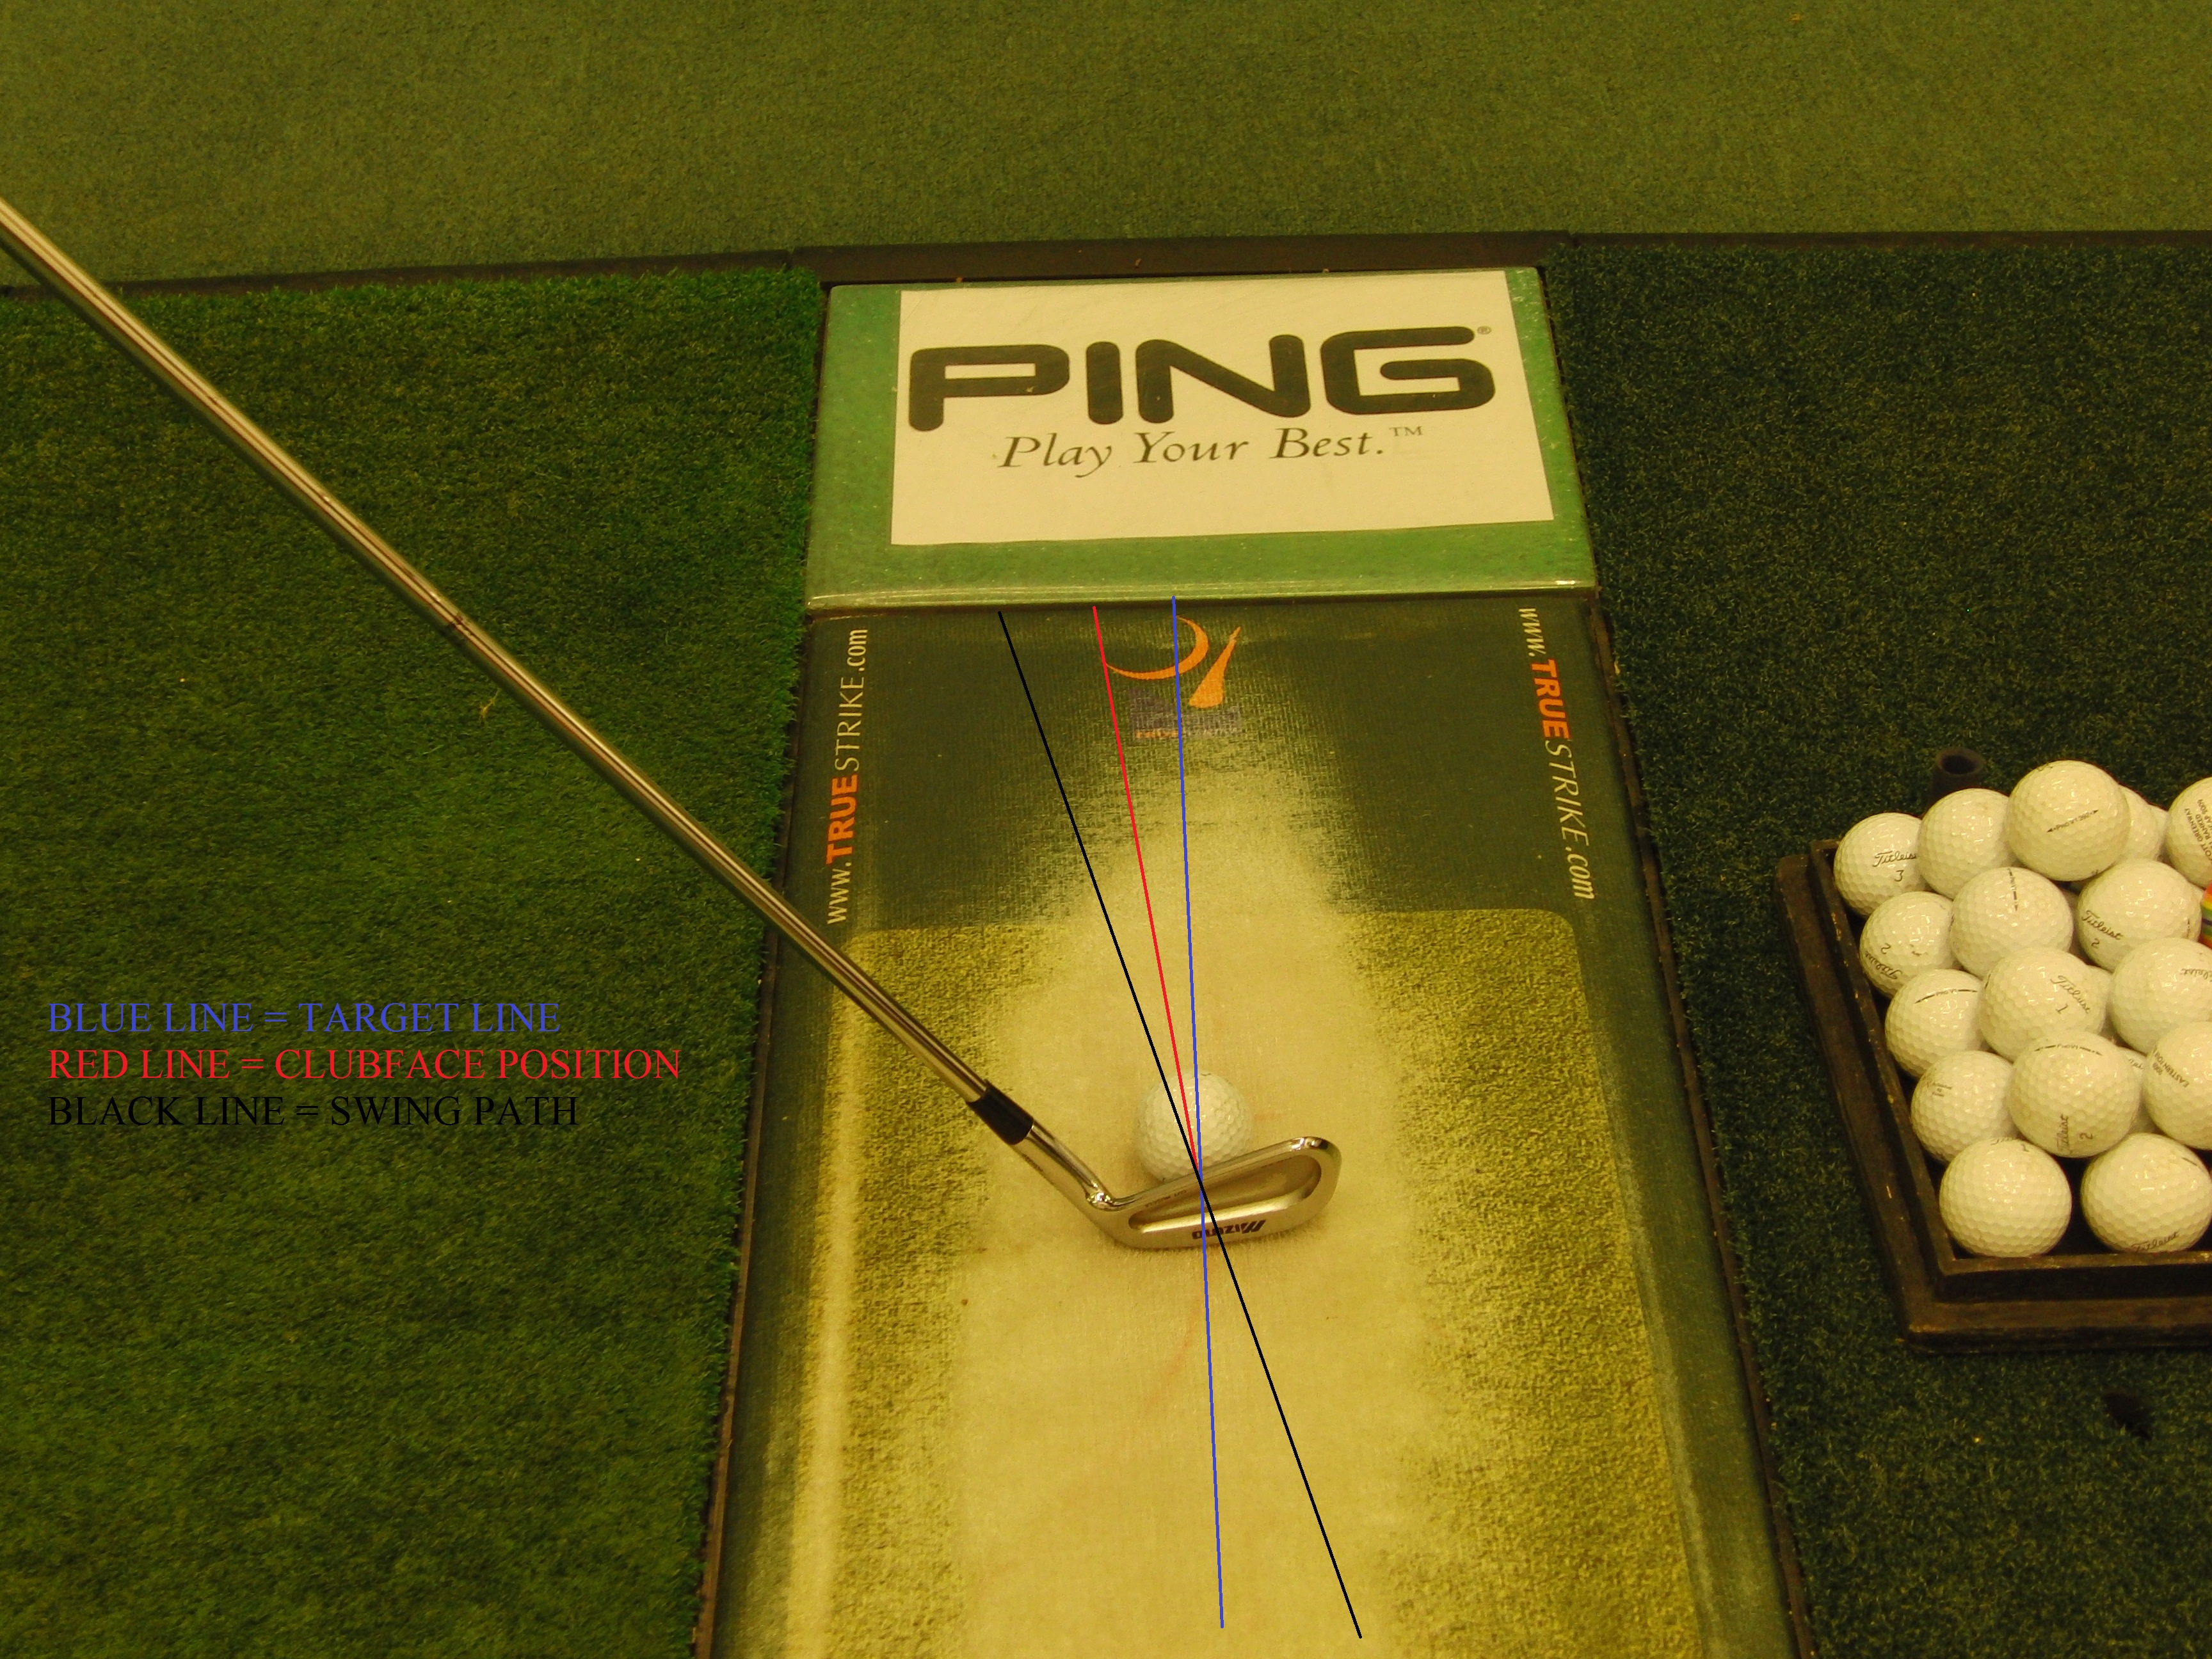
The first thing that we need to understand is the relationship of the clubface to the target line and the clubface relationship to the swing path.
The initial start direction of your shots is highly governed by the clubface at impact, basically to a large degree the ball will start where the clubface is pointing at impact. The swing path is what creates the curvature on the ball flight. Swing path tilts the spin axis of the ball.
So with this in mind we know that the clubface has to be open to the target line at address and impact but closed to the swing path. If we have the clubface 2 degrees open to the target line at address and impact the swing path needs to be 4 degrees right of the target line. The swing path is farther right than the clubface is aiming creating the “open to the target line but closed to the swing path” position.
This is what is going to create the ball to start right of target and then drawing back onto the target during its flight (right to left ball flight).
THE SET UP POSITION
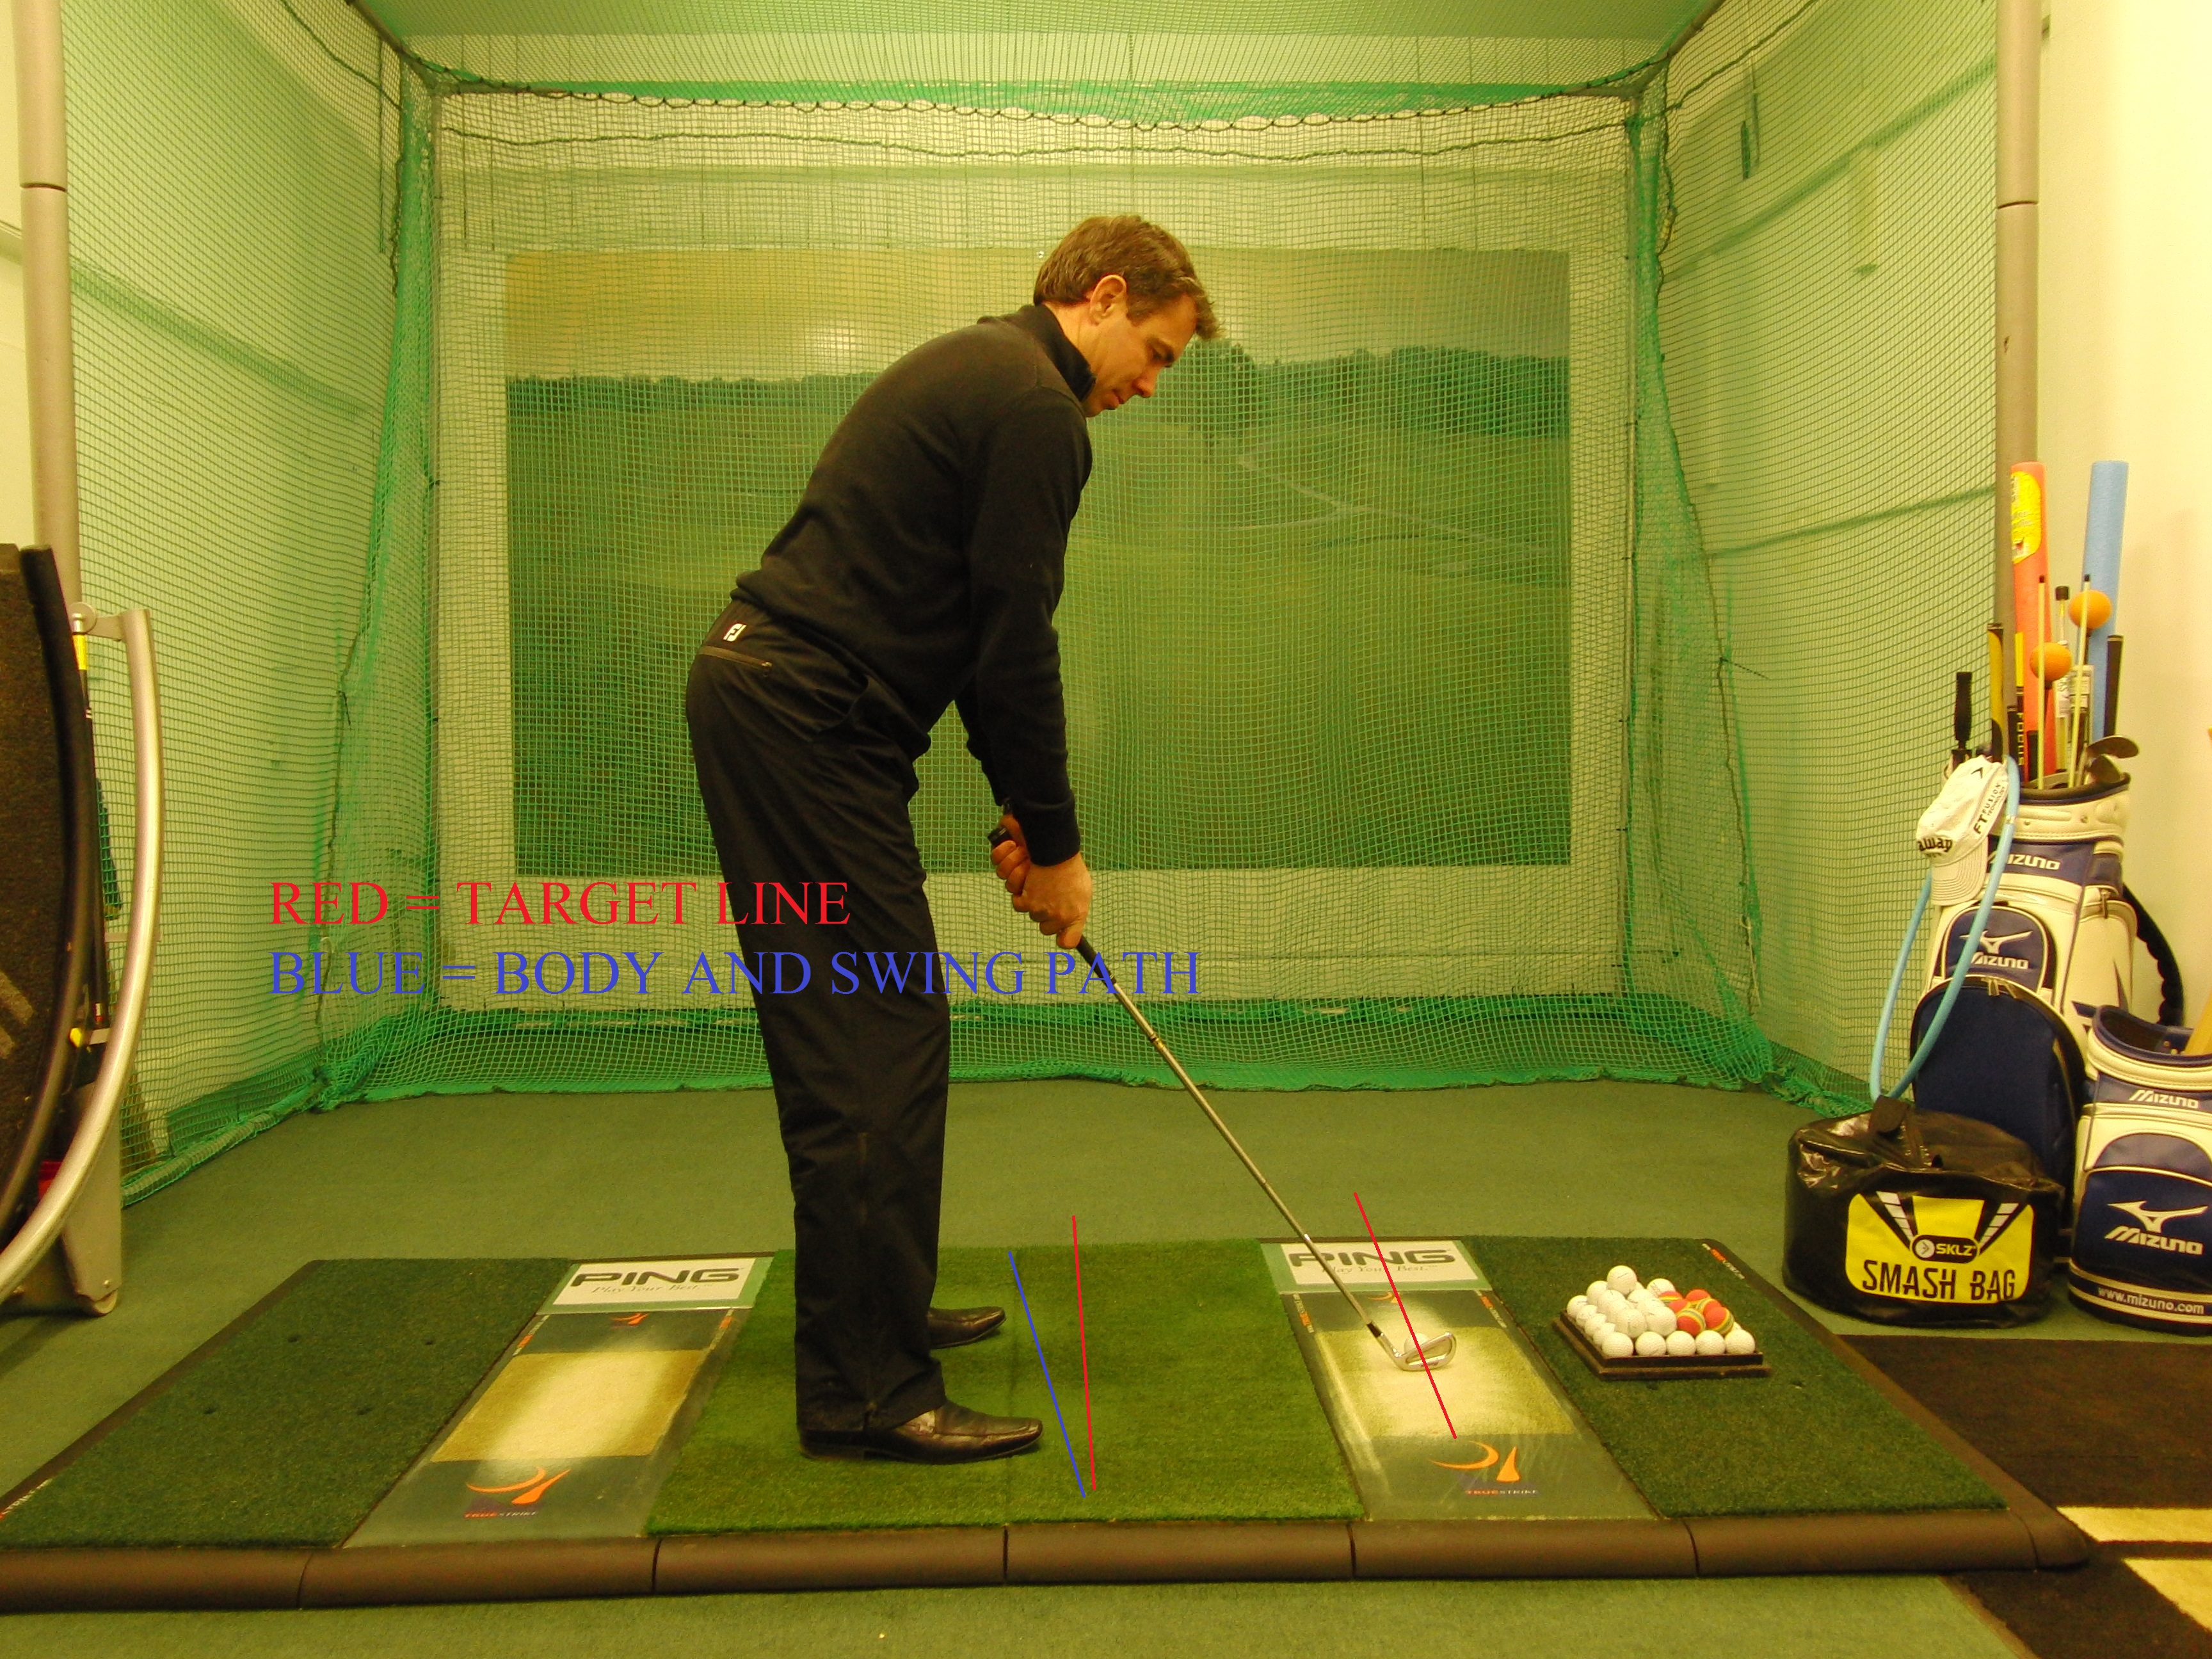
How you set up and position the body at the address is very important as it key in hitting the draw.
- Your right foot needs to be a couple of inches back at the address and make sure you align your hips and shoulders on the same lines as the feet, this creates a closed stance to the target line.
- The body alignment will create the swing path that we need, the in to out swing path which will produce the draw ball flight.
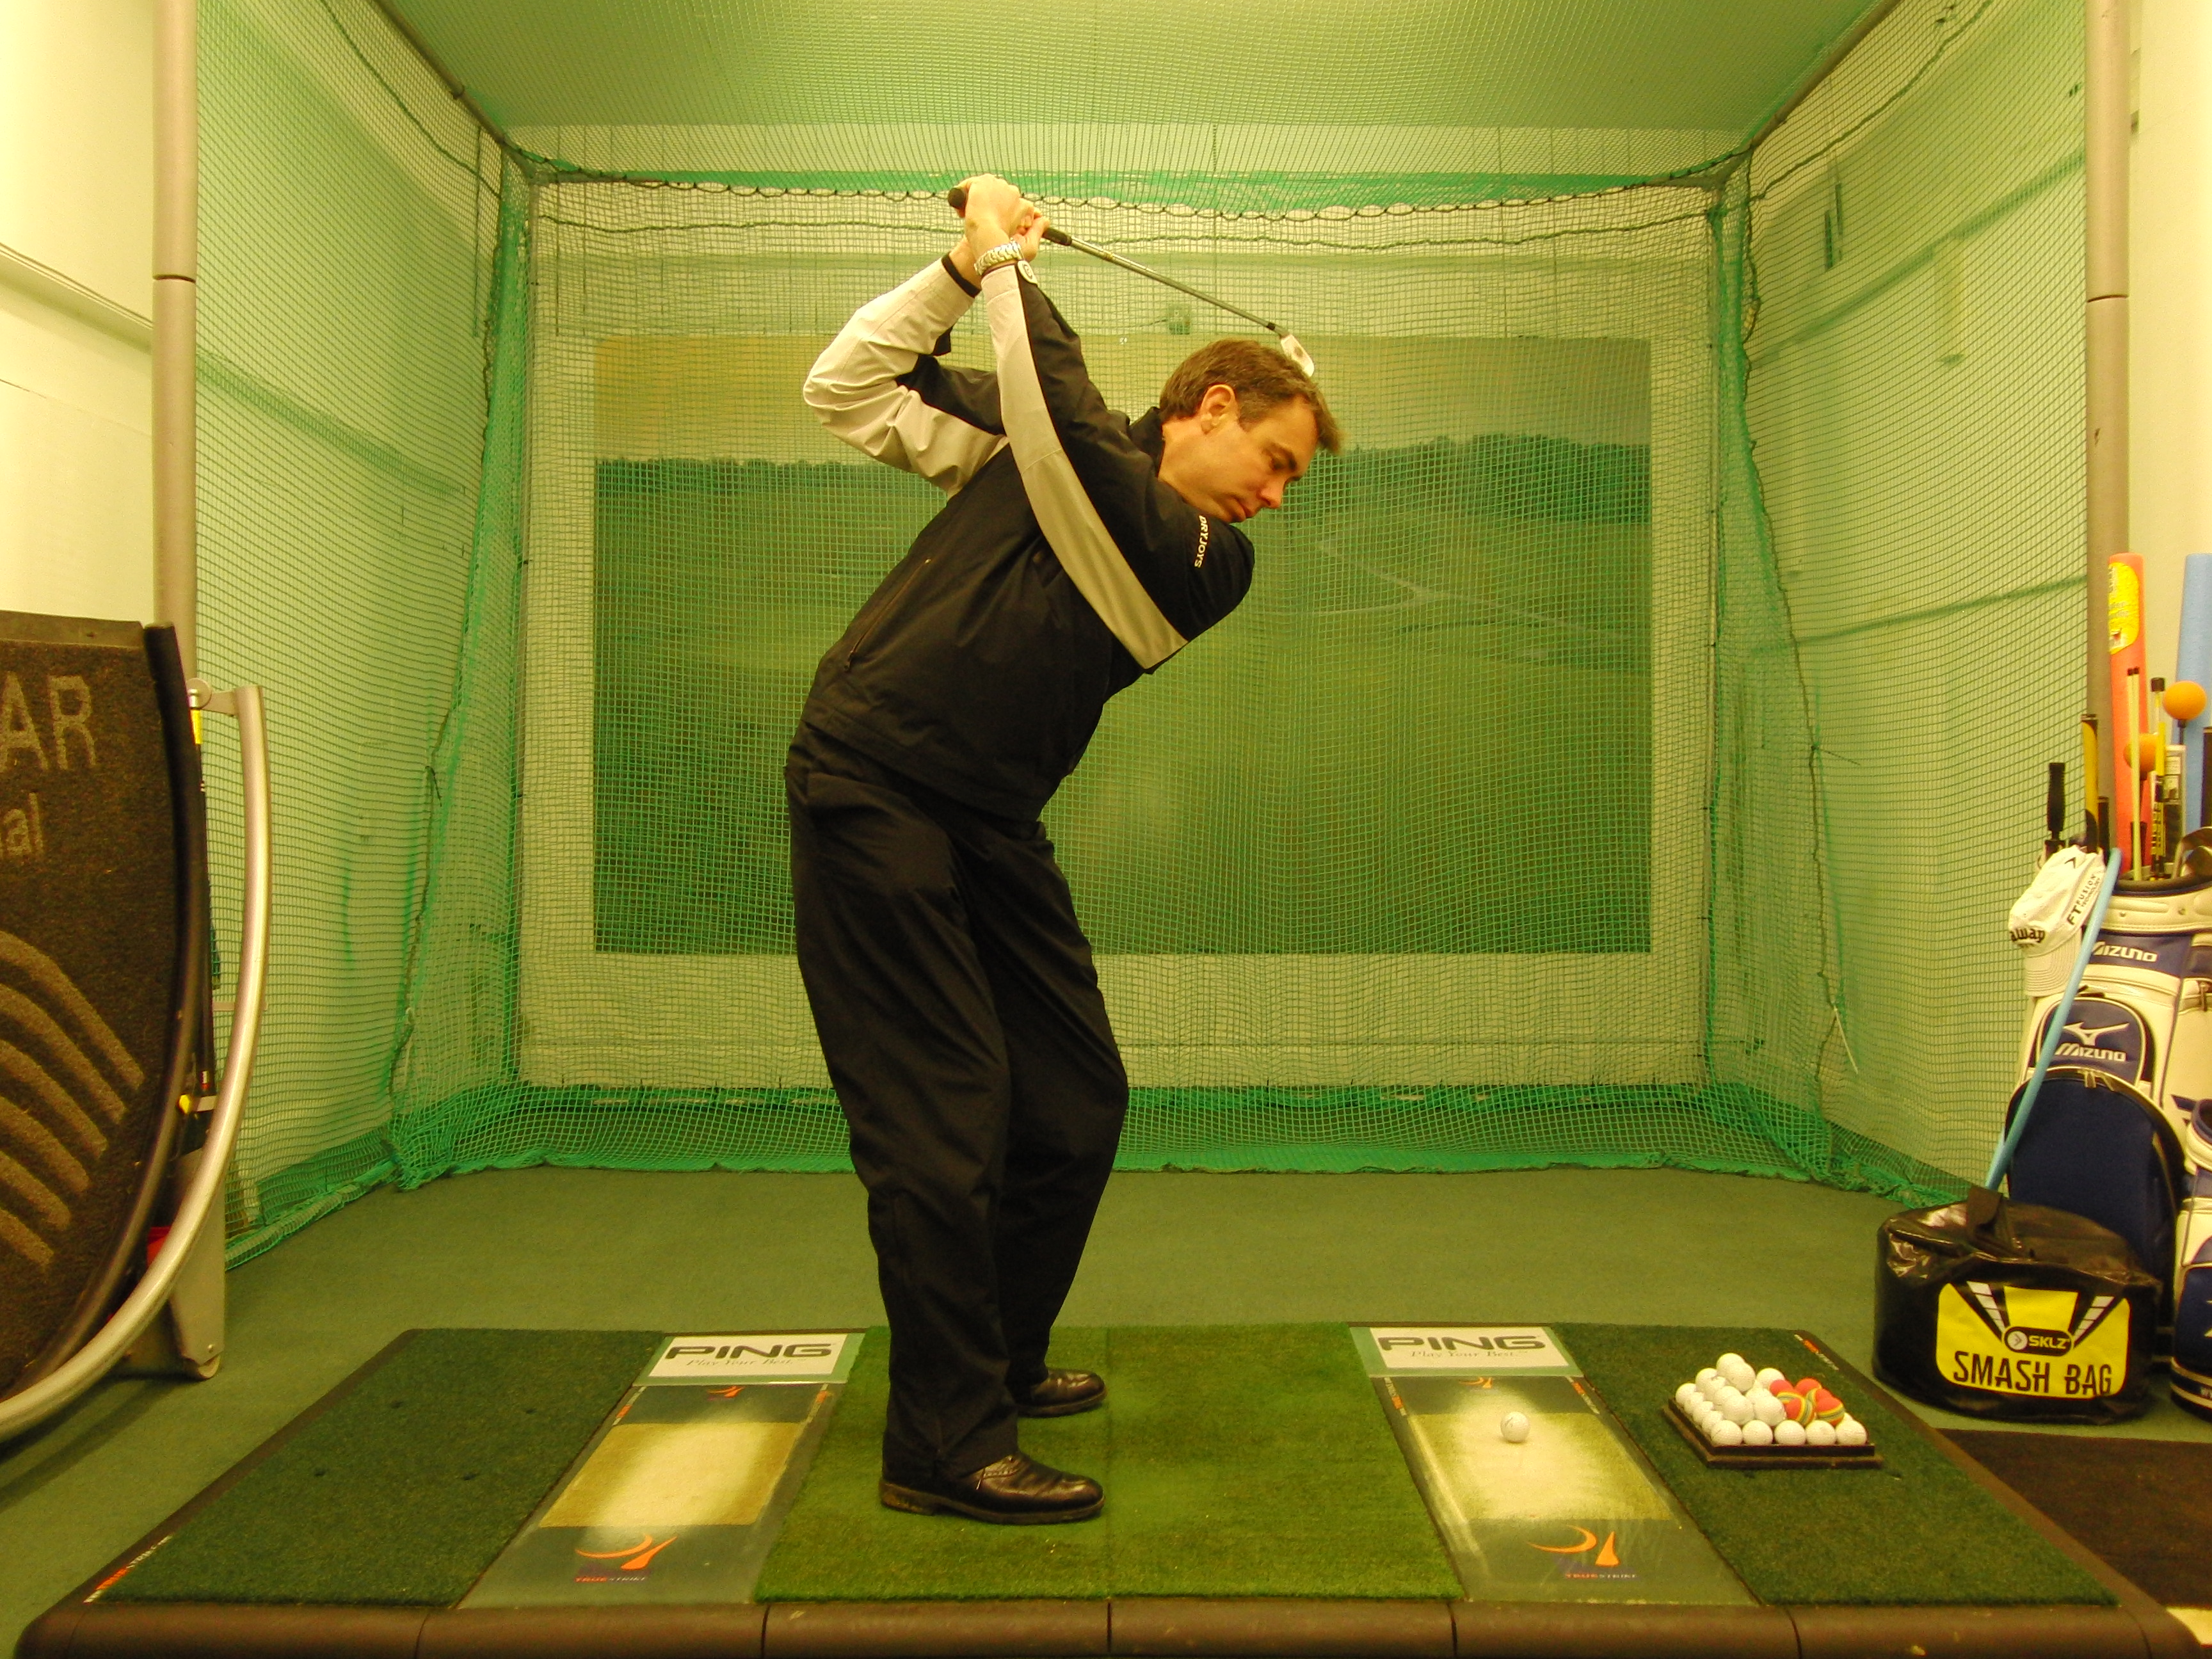
- The backswing will feel flatter than normal which is great as it will make it a lot easier in creating the in to out swing path.
- Make sure you swing along your body alignment and try not to re-route the club to the outside in the downswing.
- The forearms should feel quite in the downswing and through impact as we need to remember the clubface needs to be closed to the swing path and open to the target line to produce that sweet little draw.
- The ball should start to the right of your intended target and then curve back onto the target during the ball flight.
I hope you enjoyed the article, any comments or Questions then please leave a comment below..
Until next time I wish you all the golfing success
Mark
Mark Wood Golf Academy
Dale Hill hotel & golf club
East Sussex
How to Hit a Fade
HOW TO HIT THE PRO STYLE FADE
Many golfers all over the world would love to consistently hit a sweet, little fade. In my experience the major reason that most golfers fail with this particular shot is because they have a lack of understanding for how this shot is created. There has been a lot written and filmed on how to hit a fade, for example, your clubface has to be facing the target at address and at impact. That is completely incorrect, yes you will hit a left to right ball flight but the ball will always finish to the right of target. Quite often golfers are under the impression that the swing path governs the balls initial direction and the face puts the spin on the ball. This is unfortunately wrong information and will not produce the results of that sweet little fade we are after. We now have scientific evidence, from devices such as Trackman, Flightscope and other ball flight, swing path and clubface radars which track what is actually going on in the golf swing and gives us the DNA of what created that particular ball flight. This is hard plan facts, no guessing just pure scientific facts on what produces a fade. I am going to share with you how to hit the fade and what creates the left to right spin.
THE NEW WAY OF HITTING A FADE
The first thing that we need to understand is the relationship of the clubface to the target line and the clubface relationship to the swing path.
The initial start direction of your shots is highly governed by the clubface at impact, basically to a large degree the ball will start where the clubface is pointing at impact. The swing path is what creates the curvature on the ball flight. Swing path tilts the spin axis of the ball.
So with this in mind we know that the clubface has to be closed to the target line at address and impact but open to the swing path. If we have the clubface 2 degrees closed to the target line at address and impact the swing path needs to be 4 degrees left of the target line. The swing path is farther left than the clubface is aiming creating the “closed to the target line but open to the swing path” position.
This is what is going to create the ball to start left of target and then fading back onto the target during its flight (left to right ball flight).
THE SET UP POSITION
How you set up and position the body at the address is very important as it key in hitting the fade.
- Your left foot needs to be a couple of inches back at the address and make sure you align your hips and shoulders on the same lines as the feet, this creates an open stance to the target line.
- The body alignment will create the swing path that we need, the out to in swing path which will produce the fade ball flight.
- The backswing will feel more upright than normal which is great as it will make it a lot easier in creating the out to in swing path.
- Make sure you swing along your body alignment and try not to re-route the club to the inside in the downswing.
- The forearms should feel quite in the downswing and through impact as we need to remember the clubface needs to be open to the swing path and closed to the target line to produce that sweet little fade.
- The ball should start to the left of your intended target and then curve back onto the target during the ball flight.
I hope you enjoyed the article, any comments or Questions then please leave a comment below..
Until next time I wish you all the golfing success
Mark
Mark Wood Golf Academy
Dale Hill hotel & golf club
East Sussex
Cupped Wrist, Across the Line, Flying Elbow
Cupped Wrist, Across the Line, Flying Elbow, Open Clubface
Hooks, Blocks, Push Cuts, Duffs etc….
A lot of golfers are searching for a great top of the backswing position and really struggle to find it and here is why.
The Picture above is a classic example of a flying elbow, cupped wrist and across the line position that I see amongst many golfers at my facility. These lead to poor shaped shots (blocks, hooks, push cuts etc…) and most certainly miss – hit shots from all over the clubface with a mixture of heavy and thinned golf shots. Sometimes there is a physical element that causes this position at the top, in which we do a quick flexibility test to see how mobile the arms and shoulders are, as the range of motion can be limited through injury or lack of flexibility. Some golfers can just have too much flexibility and just be completely unaware of where they are swinging up to in the backswing. Once we have established the clients ROM we can then proceed in the below exercise on making them aware of the feelings the correct position for them at the top of the backswing should feel like.
Grip the golf club with the Left Hand below the right for right handed golfers and the opposite for left handed golfers (right below left). Picture above.
Good position at the Top
Swinging up to the top of the backswing will feel very different, it will feel more restricted, the left wrist (for right handed golfers) will be much flatter the right elbow will be much more down and in more in front of the body. This will lead to the shaft being much more “in the slot” and the clubface will be square (leading edge matched up to the left arm). Your body will be much more in balance and engaged with the movements you are making. To start with, you will feel that you are doing less as there are fewer moving parts. Try to use a mirror when doing this exercise to link up the feel with the visual.
Your shot shape and distance will improve dramatically and so will the ball striking with the centred strikes off the clubface.
I hope you enjoyed the article, any comments or Questions then please leave a comment below..
Until next time I wish you all the golfing success
Mark
Mark Wood Golf Academy
Dale Hill hotel & golf club
East Sussex
MIND OVER MECHANICS
MIND OVER MECHANICS
THE FAULT
Many golfers struggle on the greens because they often make what is in reality a fairly simple physical action, much more difficult, mainly through thinking too much about the mechanical action of their putting stroke.
When the physical aspects of putting take over it can often lead to a loss of feel for your putts and good feel is essential, both for your stroke and also when it comes to judgement of distance.
So if you are experiencing problems with this aspect of your game try this simple drill that will help get that essential feel back into your putting stroke.
THE CURE
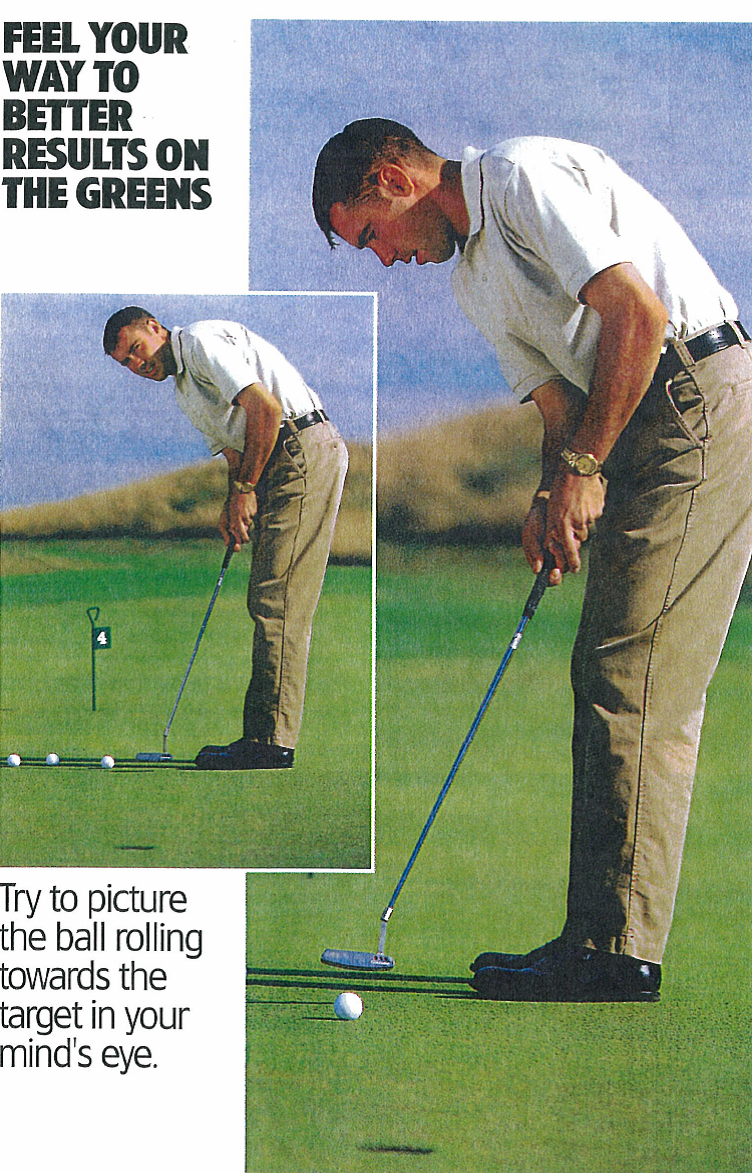
Next time you have a few minutes to spare prior to a round of golf or even during a practise session, find a quiet spot on the putting green and try this simple drill. Take up your normal putting stance, but before you actually hit the ball, take several practice strokes looking directly towards the hole instead of down at the ball.
Try to visualise the length and pace of stroke that would be required to roll the ball the required distance. And if possible, try also to picture the ball rolling towards the target on the given line and into the hole in your mind’s eye.
As you swing the putter gently back and through, you should start to become much more aware of the weight of the putter head and the pace of your stroke. You will soon discover that your natural feel for distance and pace will become the dominant factors in your putting stroke, rather than the physical mechanics of the stroke.
Then when you get out onto the golf course, try to introduce the same “feel” drill into your pre – shot putting routine.
I hope you enjoyed the article, any comments or Questions then please leave a comment below..
Until next time I wish you all the golfing success
Mark
Mark Wood Golf Academy
Dale Hill hotel & golf club
East Sussex
How to Cure that Topped/Thinned shot in golf
THE TOPPED/THINNED SHOT
The thin appears when the golfer fails to get the leading edge of the club to the bottom of the ball. Instead it makes contact halfway up the back of the ball, which results in the ball running along the ground. This particular shot pattern is common to the beginner. The one thing they want to do is to get the ball up into the air. Ironically, it’s the scooping action this desire generates that causes the ball to bumble along the ground.
THE PROBLEM
Contrary to what most people believe, a top shot is rarely caused by the old adage of “you lifted your head”. The main reason for this particular shot is that the golfer tries to lift the ball into the air, the club rising as it meets the ball. This tends to make their left arm buckle as the club approaches the ball, narrowing the swing radius. The club swings upward, shortening the swing arc that was established at set up.
THE CURE
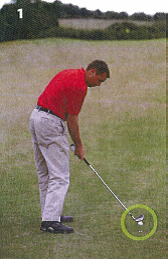
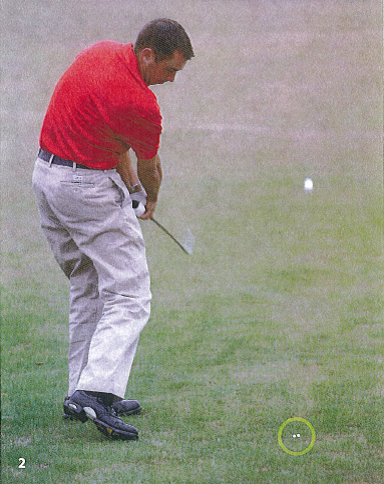
A great practise drill is to hit balls on the range with an object 12 inches behind the ball (fig 1). It could be anything, a tee peg or a pencil for example.
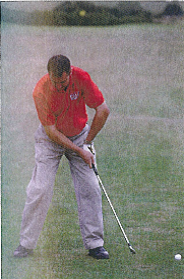
With an object behind the ball, your attention switches to making a sharper and steeper angle of attack – you don’t want the club to smash into the pencil. This creates a more downward blow, the club striking ball then turf (fig 2). This is the ideal contact for pure, well-struck iron shots – and for ditching that top/thinned shot.
I hope you enjoyed the article, any comments or Questions then please leave a comment below..
Until next time I wish you all the golfing success
Mark
Mark Wood Golf Academy
Dale Hill hotel & golf club
East Sussex
Ready, Steady, Go
READY, STEADY, GO
Improve your golf with a great Pre – Shot Routine
Many golfers on the Worldwide Tours all have one thing in common – A PRE SHOT ROUTINE….
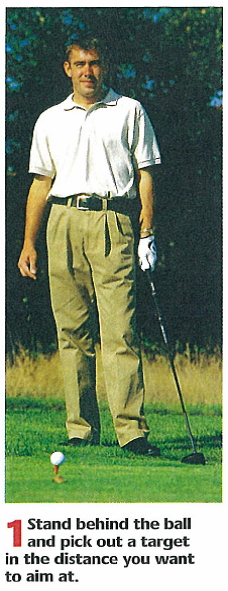
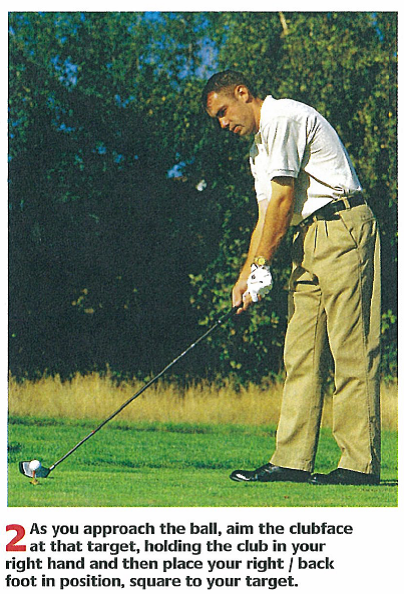
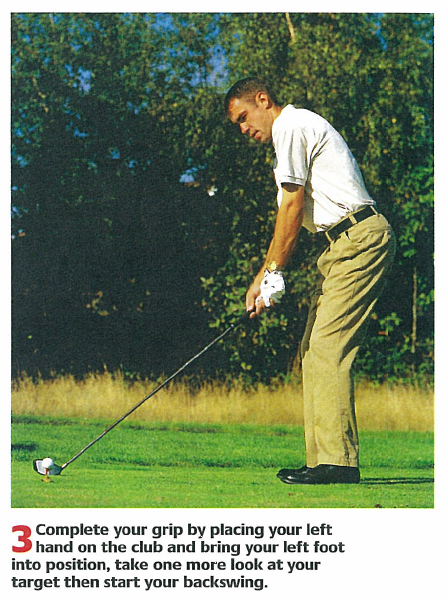
A Pre – Shot Routine is very important as it helps get you set up and ready for the shot, a lot of mistakes I see golfers make each and every day is poor alignment and poor stances…. You may ask well how will a pre – shot routine help me??
Well by having a great pre shot routine, it will get you ready for the shot, it will switch you on with the shot you are about to play, get you fully engaged with the purpose of what you WANT to ACHIEVE and it will give you a much higher percentage of achieving the good outcome, the one that you set out to do…
Have a read below of an article I wrote back in 2003, and you will see how a good routine will help your golf.
THE FAULT
One of the first things I look for when I take a pupil on the course for a playing lesson is how they set up to hit the ball. In most cases of many beginners they simply walk up on the tee, stand to the ball, and then let it fly. Furthermore, the way in which they prepare to make their swing can often change from shot to shot and as a result, produce some pretty erratic results, mainly because they don’t use a repetitive pre shot routine.
Watch the top pro’s on every main worldwide tour and you will see one thing in common amongst the players, they all have a pre shot routine, in which they follow the same step by step process prior to hitting every shot.
THE DRILL
This routine has two key functions. Firstly, it ensures that you always remember to check the key aspects of your set up, such as alignment, ball position, grip etc.
Secondly, having a pre shot routine, helps to create a repetitive sequence of actions that have a continuous flow, which should start as you step up to each and every shot and finish as you start the club back from the ball.
I hope you enjoyed the article, any comments or Questions then please leave a comment below..
Until next time I wish you all the golfing success
Mark
Mark Wood Golf Academy
Dale Hill hotel & golf club
East Sussex
Grip Check Test
GRIP CHECK TEST
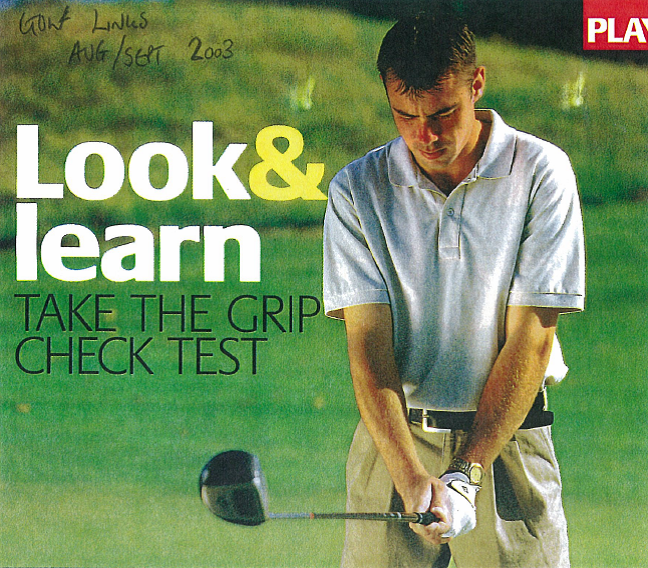
For many golfers, especially those who are fairly new to the game, faults often happen as the result of poor fundamentals in the set up including the all-important grip, rather than a poor swing. Here is a simple drill that can help you establish a good grip which will help keep your game on track.
First, take up your address position and grip the club as you would normally. Then cock your wrists directly in front of you at a 90 degree angle and look down at your grip.
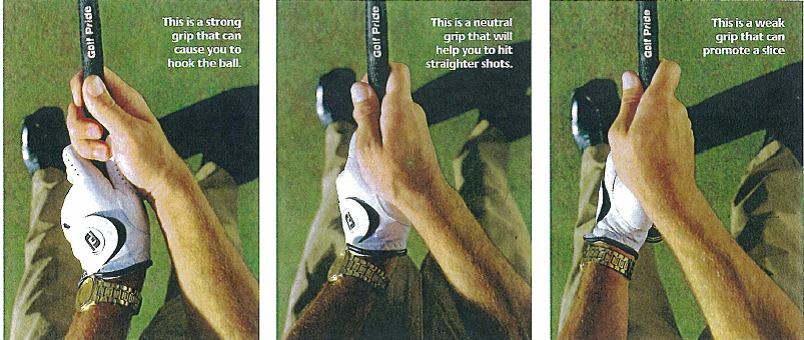
If you can see three knuckles on your left hand and less than one on your right, then you have a strong grip that could cause you to hook the ball and also hit the occasional fat shot.
Alternatively, if when you look down at your grip you can see three knuckles on your right hand and only one on your left, then your grip is overly weak and this can cause you to slice the ball.
A Neutral grip would show two knuckles on both hands but for many amateur golfers, especially those who are not physically strong, then using a grip that is slightly stronger, with at least two and a half knuckles showing on the left hand will usually produce the best results.
Ideally, spend some time on the practise ground or at your local driving range, experimenting with different grips, from weak to strong, until you find the one that you are most comfortable with and which helps you to achieve greater accuracy, distance and the type of ball flight you prefer.
It’s always a good idea to regularly check that you are gripping the club the way you think you are and this simple drill only takes a few seconds to carry out.
I hope you enjoyed the article, any comments or Questions then please leave a comment below..
Until next time I wish you all the golfing success
Mark
Mark Wood Golf Academy
Dale Hill hotel & golf club
East Sussex


